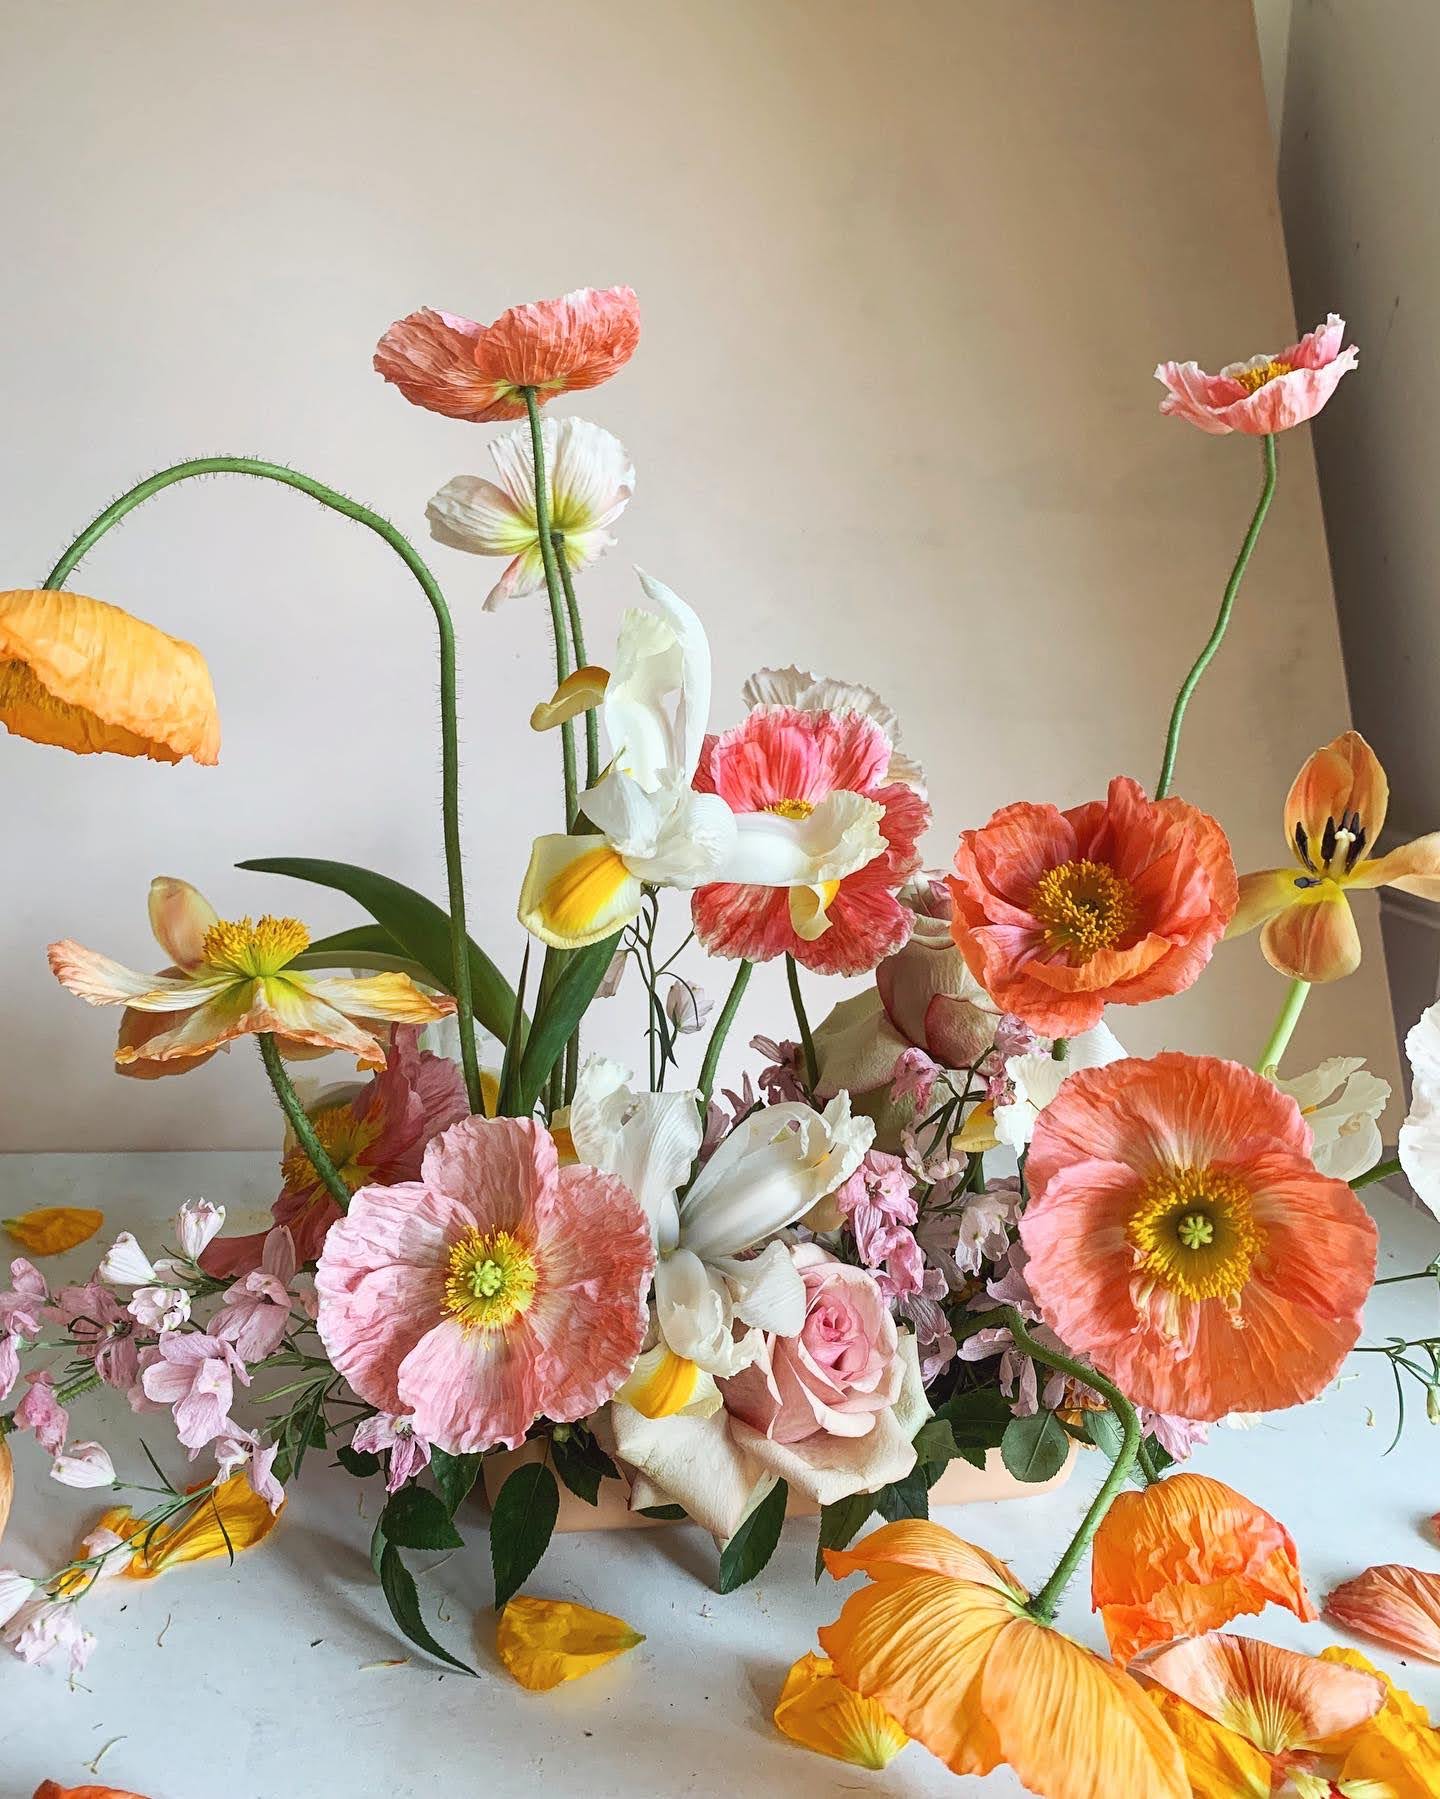
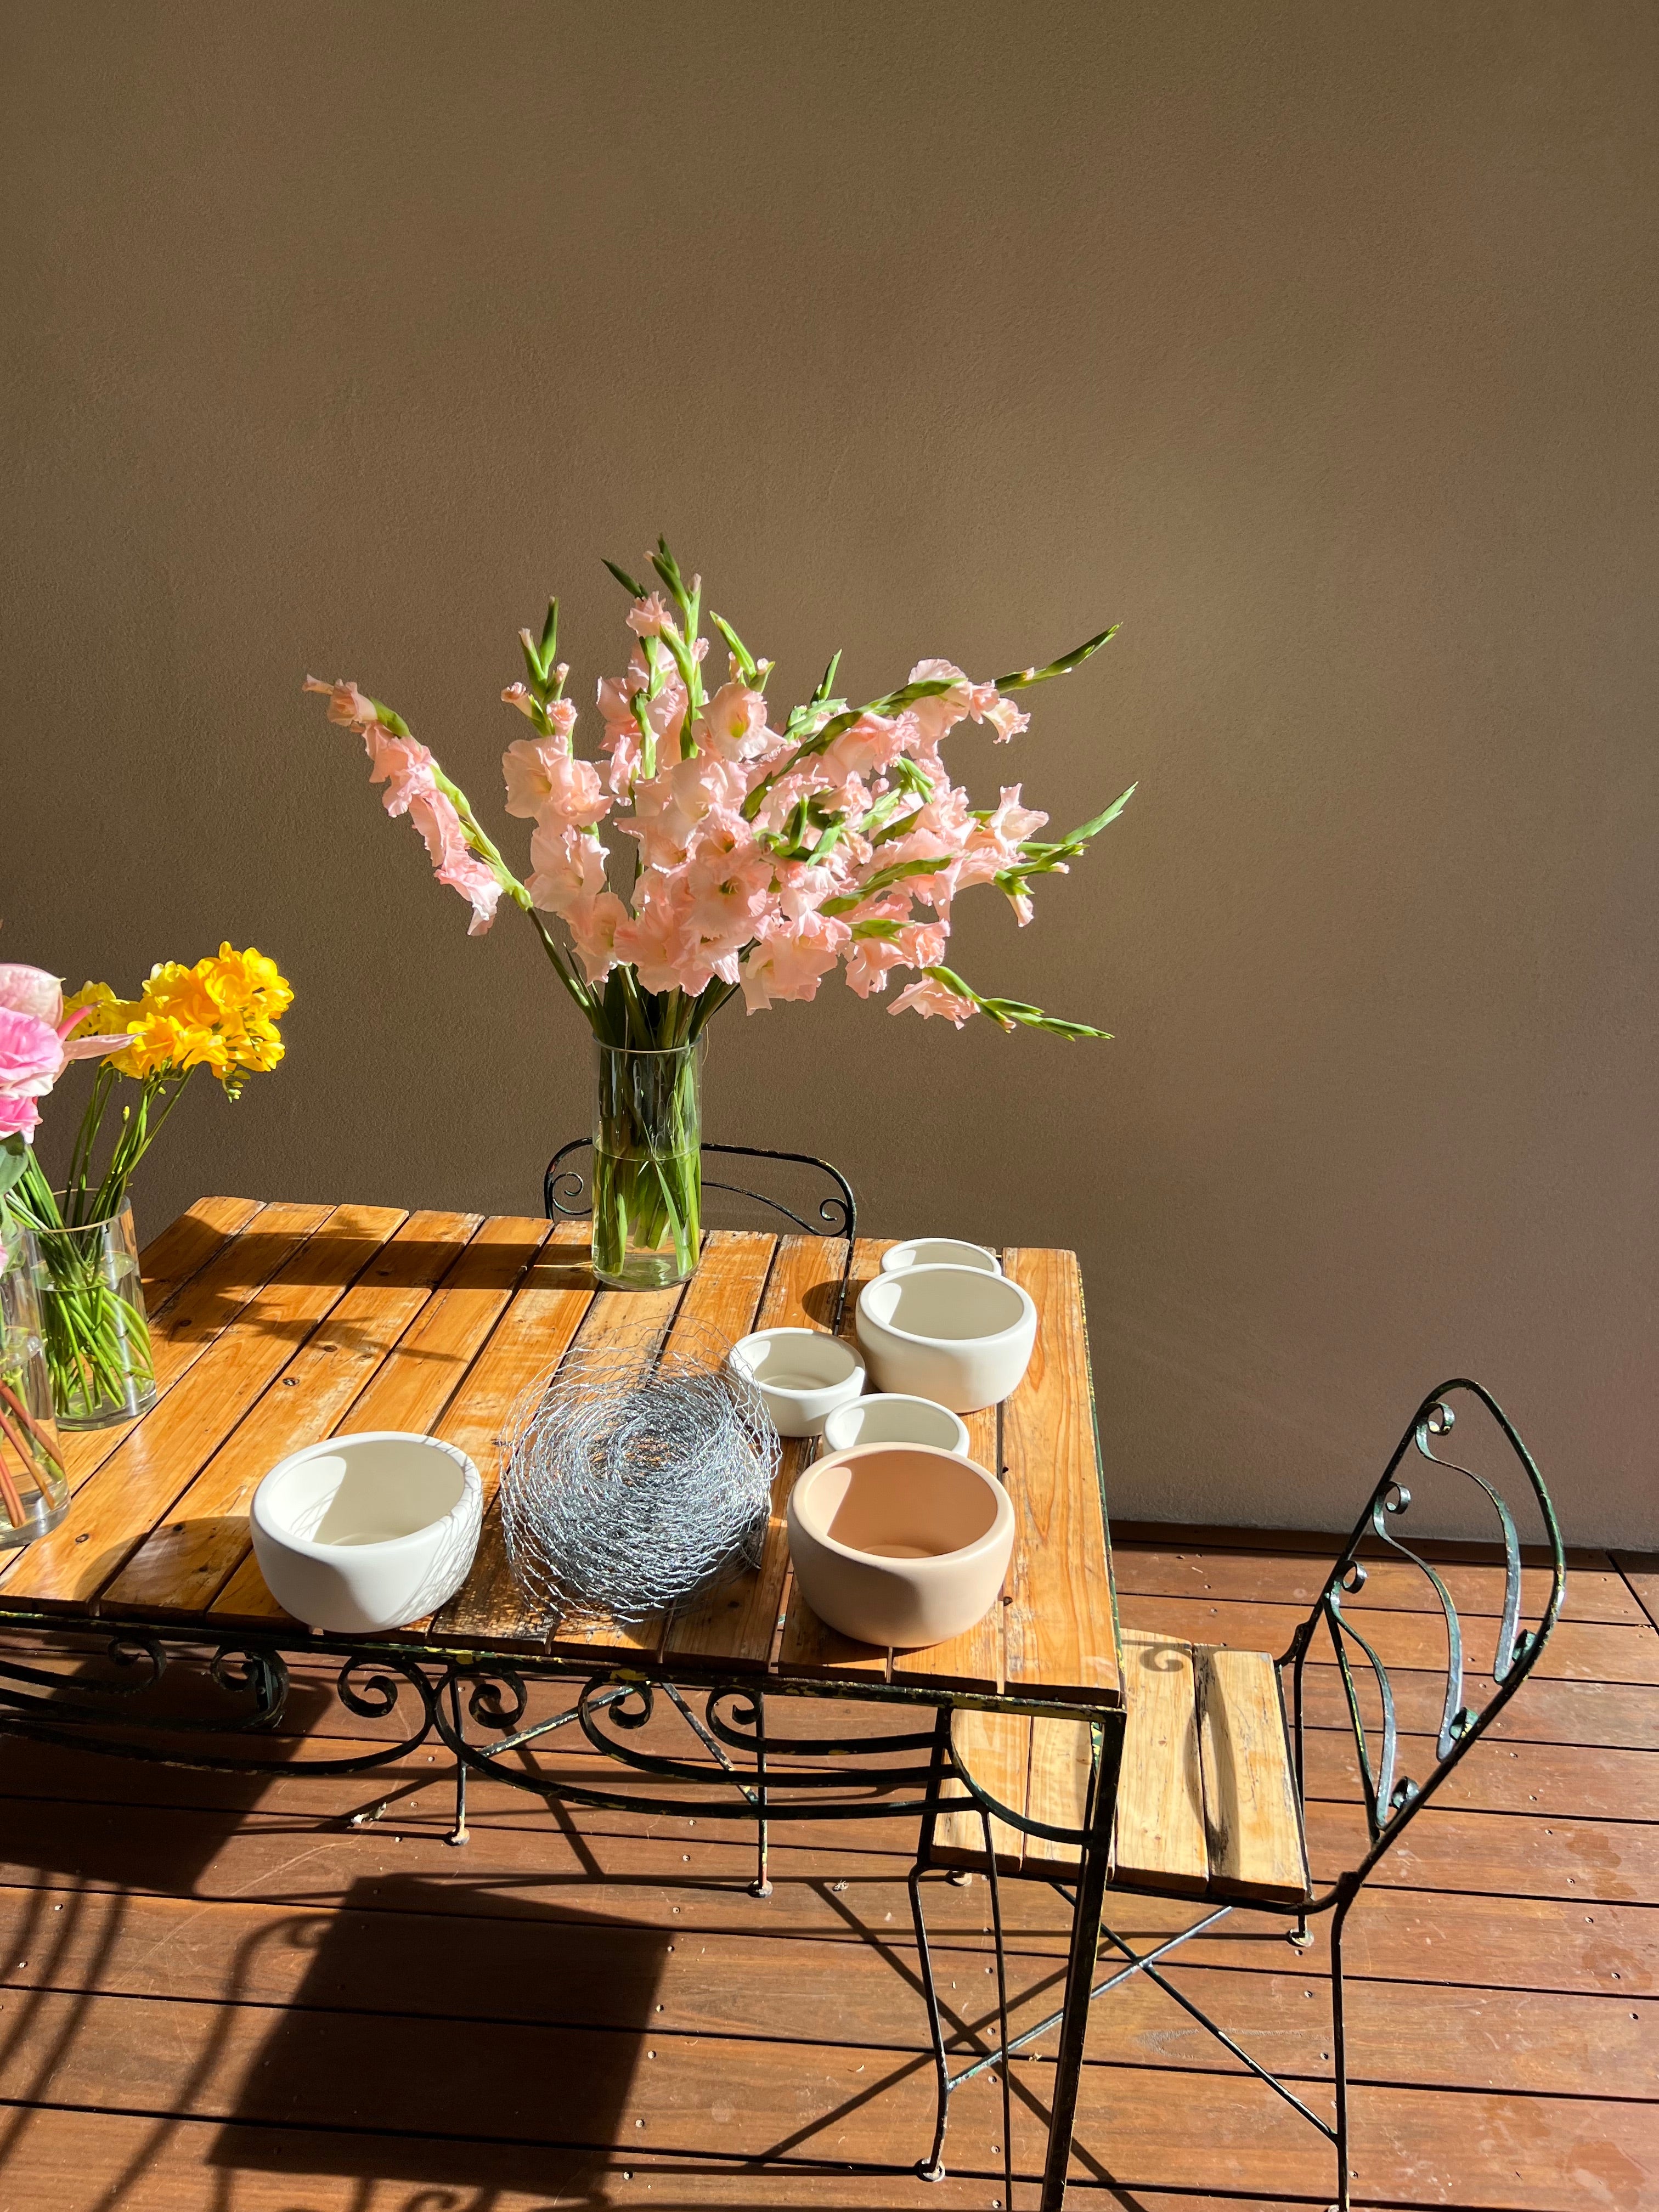
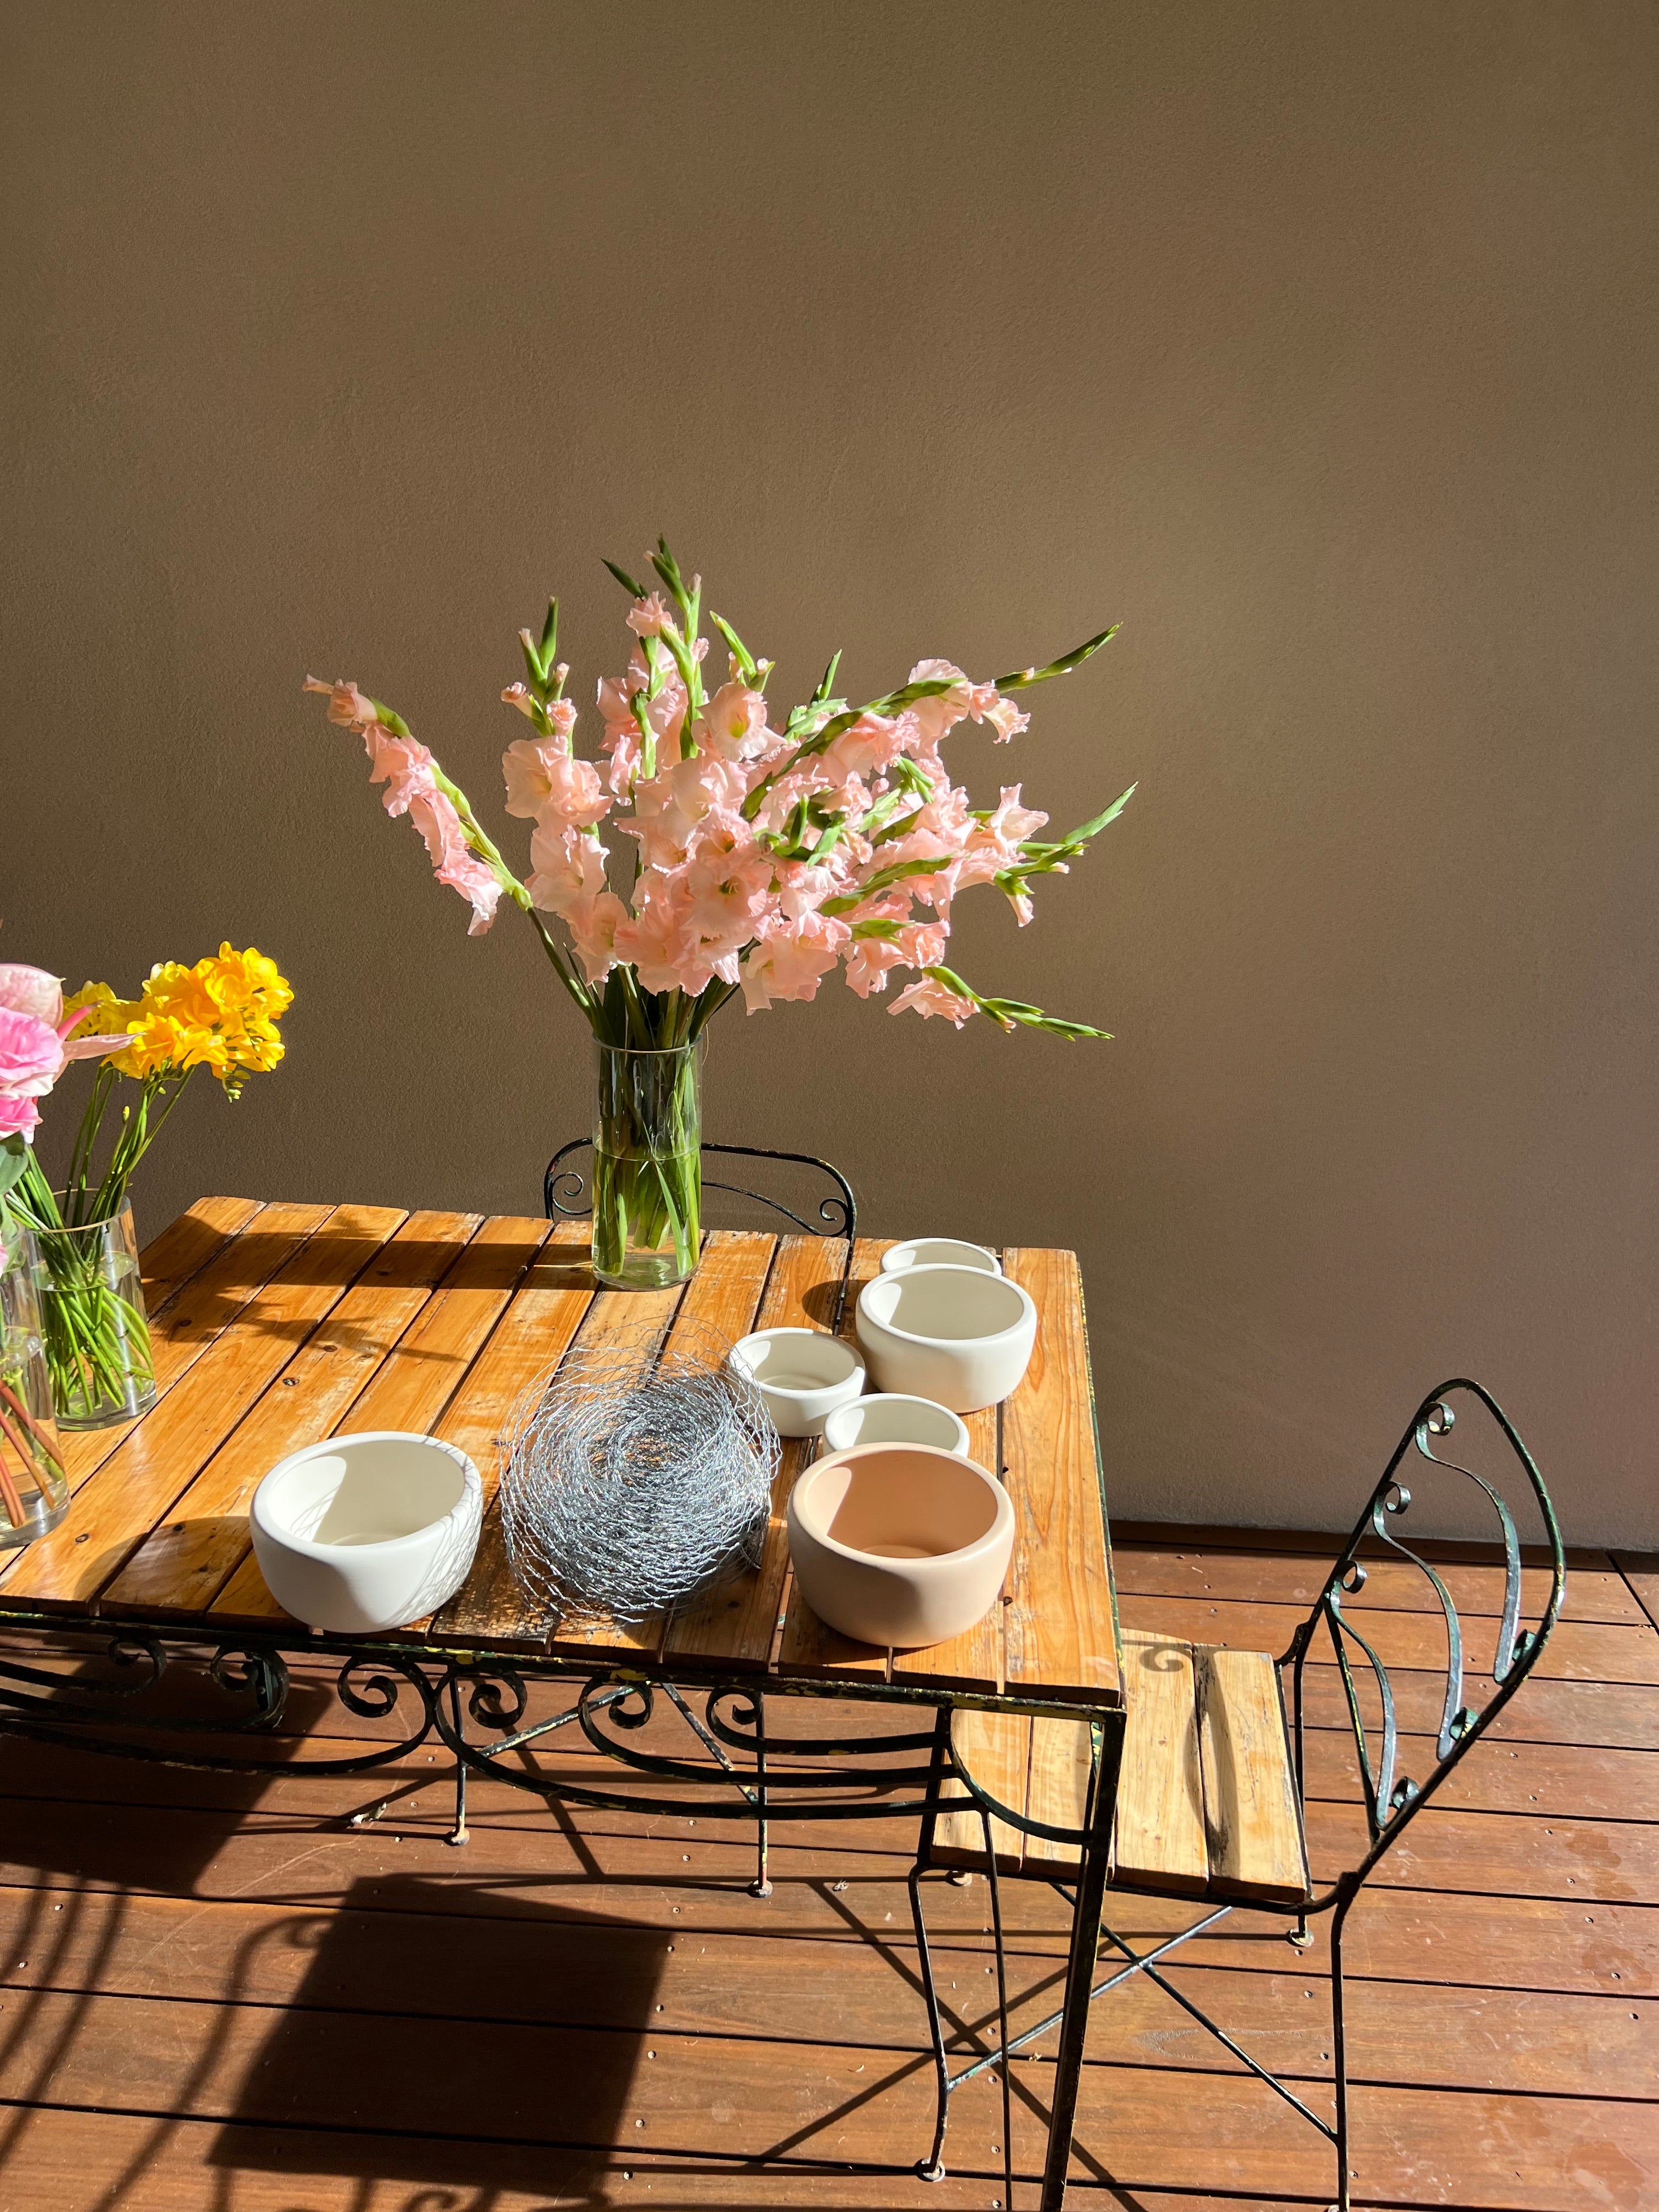
Mastering your base is the key to great floral design and chicken wire is an easy, mess free, reusable and sustainable solution, so we've curated a step-by-step guide for proper chicken wire placement.
Here's our no fuss, how-to guide on creating your chicken wire foundation:
-This method can be used with a flower frog, you may need a little less wire.
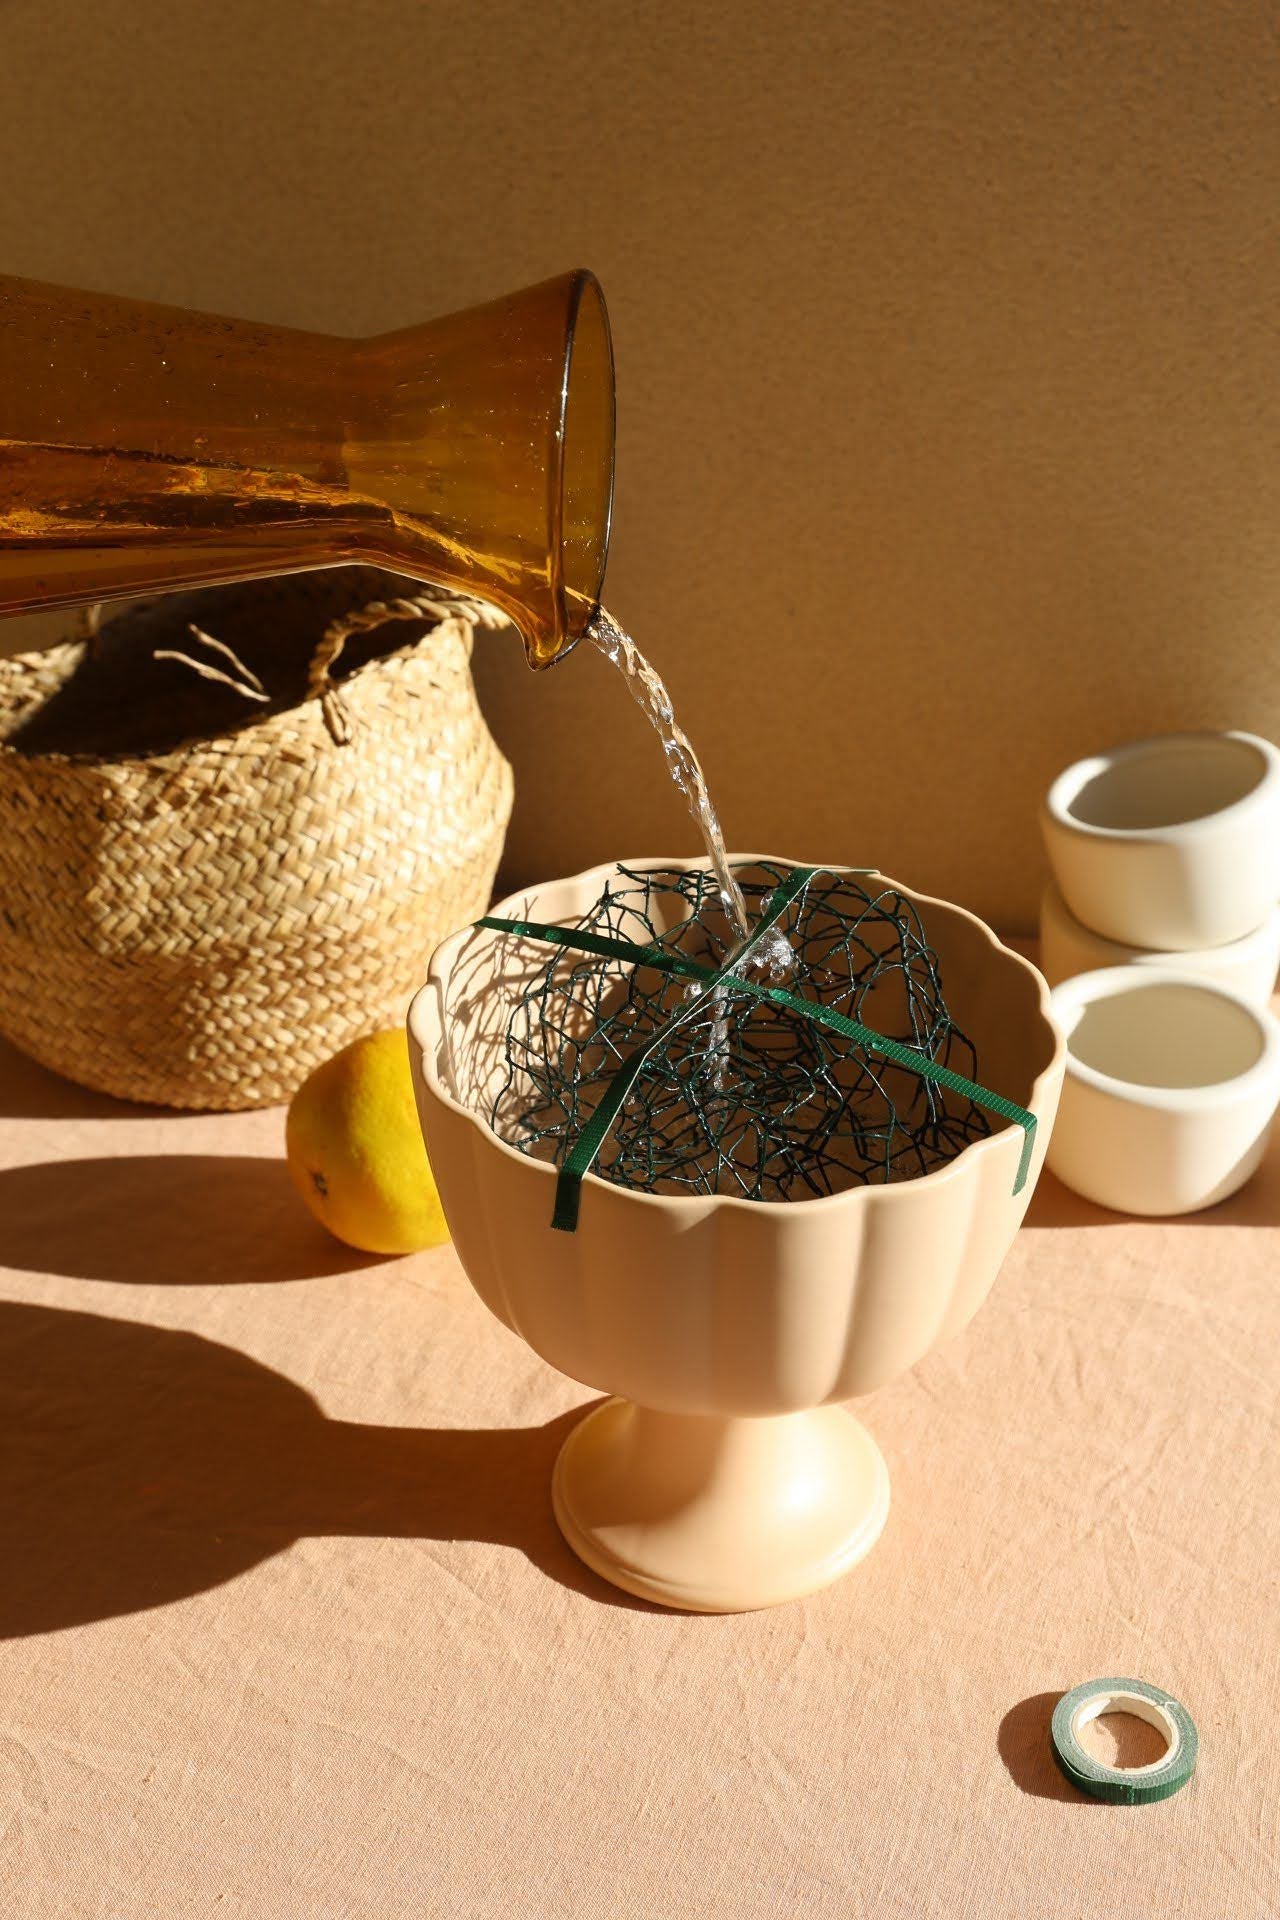
1. Start by cutting a piece of chicken wire about 3 times the width of the opening of your vessel. Create a ball that has 3 layers - top, middle, bottom - as evenly spaced as you can make them.
Next gently place the wire ball into your vessel keeping the layer as they are and so that they bottom layer is close to the bottom of the vessel to create an anchor.
Your wire ball should fit snuggly and not roll around. If it's moving about, cut another layer of wire to add to the top, or start fresh with a new piece.
2. Don't overdo it. Too much chicken wire will restrict where you can place your stems and won't allow for the natural movement. Take the time to learn and practice using different volumes of wire and note which works best for your style of design and the flowers you most often use.
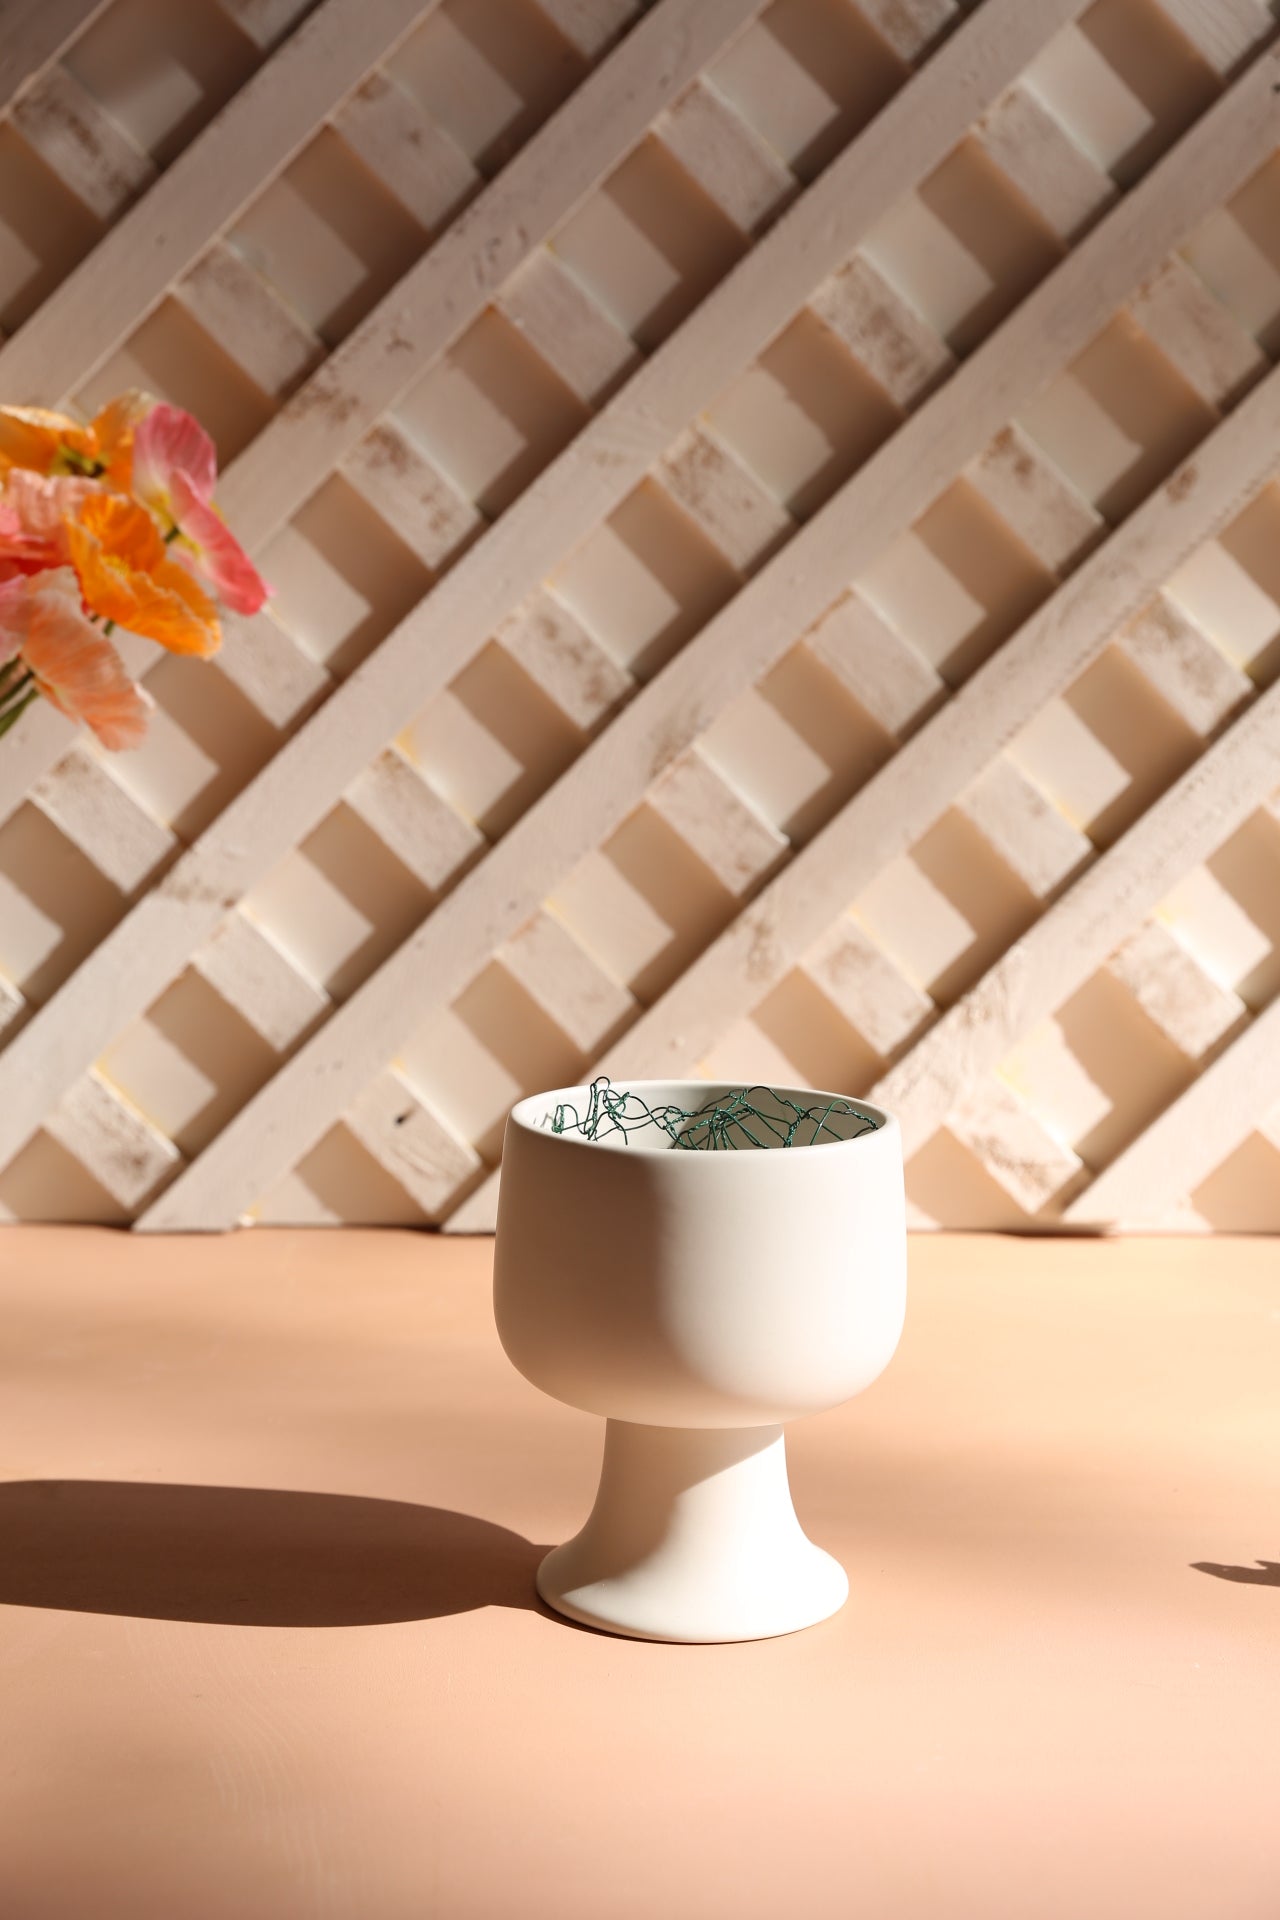
3. Always start with thicker stems first so you'll have plenty of choice and room for placement. Branches and large woody and hollow stems (think gladiolus, dahlias, stock) can take up quite a bit of room, so make sure they have their place first thing in the foundation. If you add these in later in your design they can crush other more delicate stems and create a squished look.

4. Start placing your stems around the outside of your wire first, then work your way in. You'll get into a rhythm with what works best for your own way of designing, but as a general rule doing this will give you freedom to first create width to your arrangement with flowers and foliage - leaving room in the middle of your design for your showstopper blooms.
5. Like anything good, the foundation is essential, so don't be tempted to rush. Rushing your chicken wire leads to difficulty and frustration when arranging your blooms and ends up taking way more time to get the result you're hoping for. Getting it right from the beginning will lead to a more relaxed time arranging.
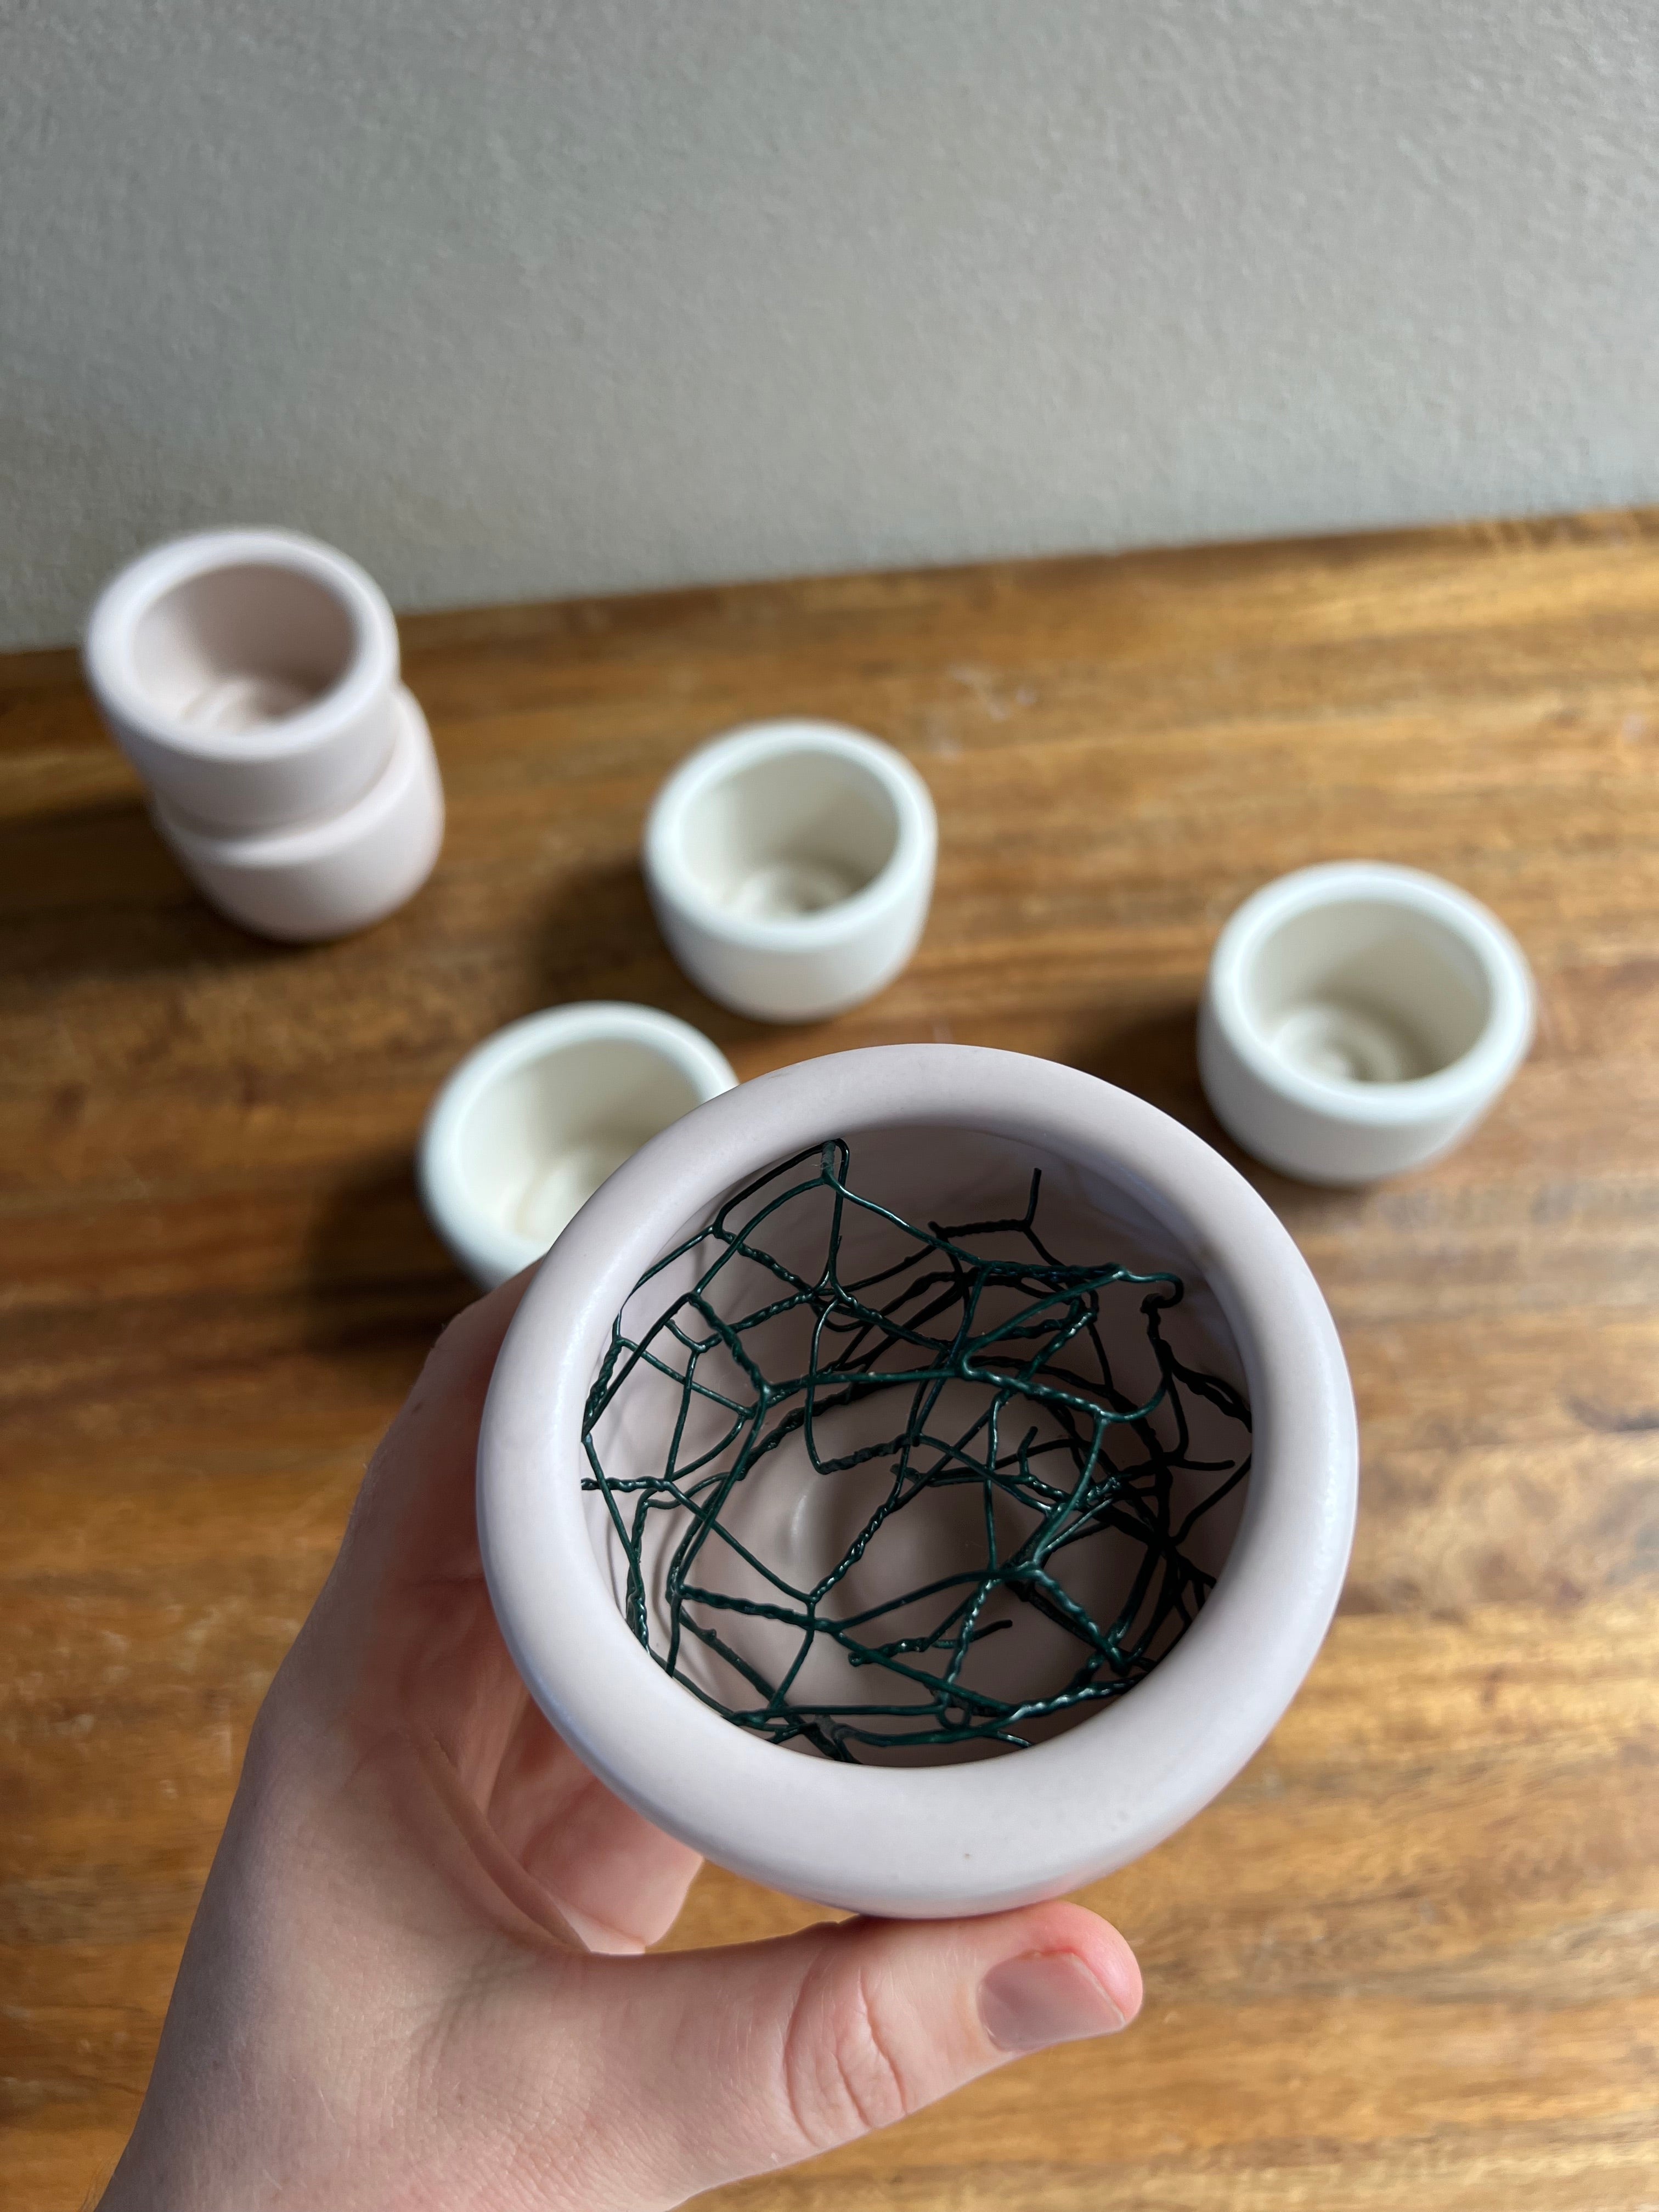
And voila! Designing in chicken wire is super easy once you get the hang of it. Using a coated wire allows you to use the same piece again and again (and again). Be sure to give it a wash between uses to rid bacteria.
Tanya's Tip: Don't forget to schedule vessel preparation into your event week. We often do this a few days before we receive our flowers.
All our vessels have been specially designed to be arranged in with chicken wire and for some, you can even use this method without floral tape!
See our Vila Dishes in all sizes + Flume Vessels, Ella Compotes.


